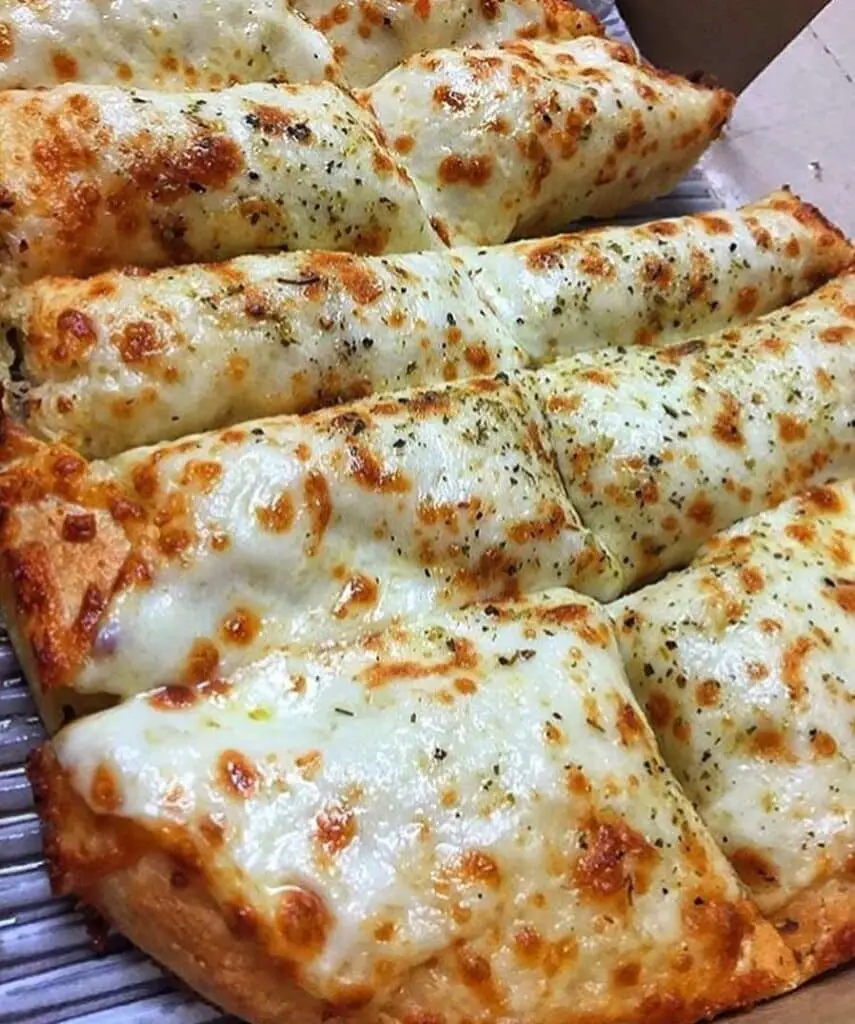
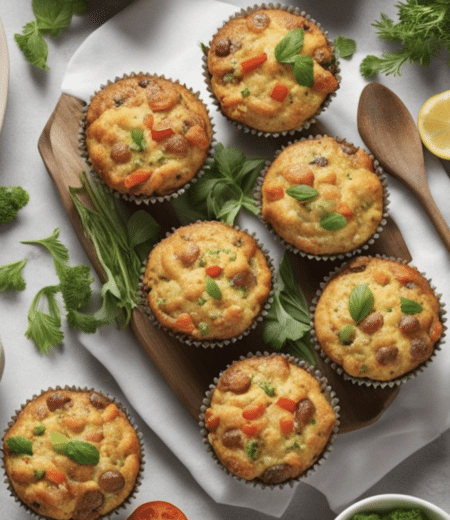
Who can resist the heavenly aroma of Cheesy Garlic Breadsticks fresh out of the oven? It’s the perfect comfort food that brings a smile to everyone’s face. Whether you’re hosting a party or craving something cheesy, this recipe is a sure winner.
Garlic and cheese – the dynamic duo that makes everything better. Add them to breadsticks, and you’ve got a crowd-pleaser. My take on this classic is not just easy but irresistibly delicious.
In this post, I’ll walk you through the steps to make your own Cheesy Garlic Breadsticks. Get ready to impress your taste buds and your guests!
Why You’ll Love This Recipe
Simple and Satisfying
Making these Cheesy Garlic Breadsticks is a breeze. With just a few ingredients and simple steps, you can quickly have a batch ready. They are the perfect blend of crispy, cheesy, and garlicky flavours.
Perfect for Any Occasion
Whether it’s a family dinner, a game night with friends, or a solo treat, these breadsticks fit right in. They’re versatile enough to be a snack, a side, or even a main course if you feel adventurous.
Kids’ Favorite
Let’s face it, kids love cheese, and they love bread. Combine these two, and you’ve got a recipe that’s sure to win their hearts. It’s also a fun recipe for kids – let them sprinkle the cheese!
Ingredients
Dough
- 1 tube refrigerated pizza crust
Topping
- 1 tsp melted butter
- 1 crushed garlic clove
- 3/4 cup shredded mozzarella cheese
- 1 tsp parmesan cheese
- 1 teaspoon dried oregano leaves (optional)
Step-by-Step Instructions
1. Preparing for Greatness
Heat your oven to a toasty 425 Fahrenheit. It’s important to get the temperature right for that perfect golden crust. While the oven heats, line a baking tray with parchment paper for a non-stick experience.
2. The Base of Flavor
Roll out your pizza crust on the tray. It’s your canvas, ready for the flavorful toppings. The crust should be even to ensure uniform cooking and crispy edges.
3. Garlicky Butter Bliss
Now, let’s make it aromatic. Mix the melted butter and crushed garlic. This mixture is the secret to those irresistible, flavour-packed breadsticks. Spread it evenly over the crust, ensuring every inch gets its garlicky goodness.
4. Cheesy Heaven
Sprinkle the shredded mozzarella and Parmesan cheese over the crust. Be generous – it’s all about the cheese! The oregano adds an extra layer of flavour, but it’s optional.
5. Pre-Bake Magic
Before popping it in the oven, cut the dough into 16 rectangles. This pre-cutting makes it easier to serve later. It’s like getting a sneak peek of the deliciousness to come.
6. Baking to Perfection
Bake for 12 minutes. You’re looking for that perfect moment when the cheese is melted and slightly golden. It’s the visual cue that your Cheesy Garlic Breadsticks are ready to steal the show.
7. Serve and Enjoy
Remove from the oven, and give those breadsticks a final cut. They’re best served warm, oozing with cheese, and packed with flavour.
Pro Tips
Choosing the Right Cheese
Mozzarella is a great choice for melting, but feel free to experiment. A blend of different cheeses can add depth to the flavour.
Make Ahead
These breadsticks can be prepared ahead of time. Just refrigerate after assembling and bake when you’re ready to serve.
Variations Galore
Don’t be afraid to add your twist. Throw in some chilli flakes for heat or a sprinkle of garlic powder for extra garlic flavour.
Serving Suggestions
Dipping Delights
Serve with marinara sauce or garlic butter for dipping. It turns these breadsticks into an irresistible treat.
Pairing Ideas
Pair them with a fresh salad or a bowl of soup, or enjoy them as they are. They’re versatile enough to complement a variety of dishes.
Beverage Pairings
Depending on your mood and the occasion, a glass of chilled soda or a cup of hot tea can be a great accompaniment.
There you have it, your guide to making the most amazing Cheesy Garlic Breadsticks. This recipe is not just about satisfying your hunger; it’s about creating those warm, cheesy moments that unite us.


